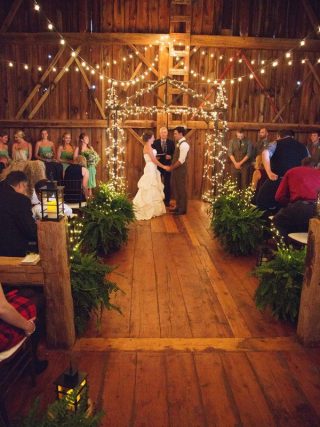
Bohemian Gypsy Wedding Inspiration in Winnipeg
Ethereal Peach + Grey Summer Wedding Inspiration in Banff
Snow White Fairytale Inspired Wedding in Pitt Meadows
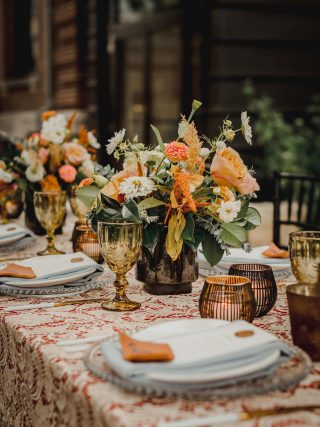
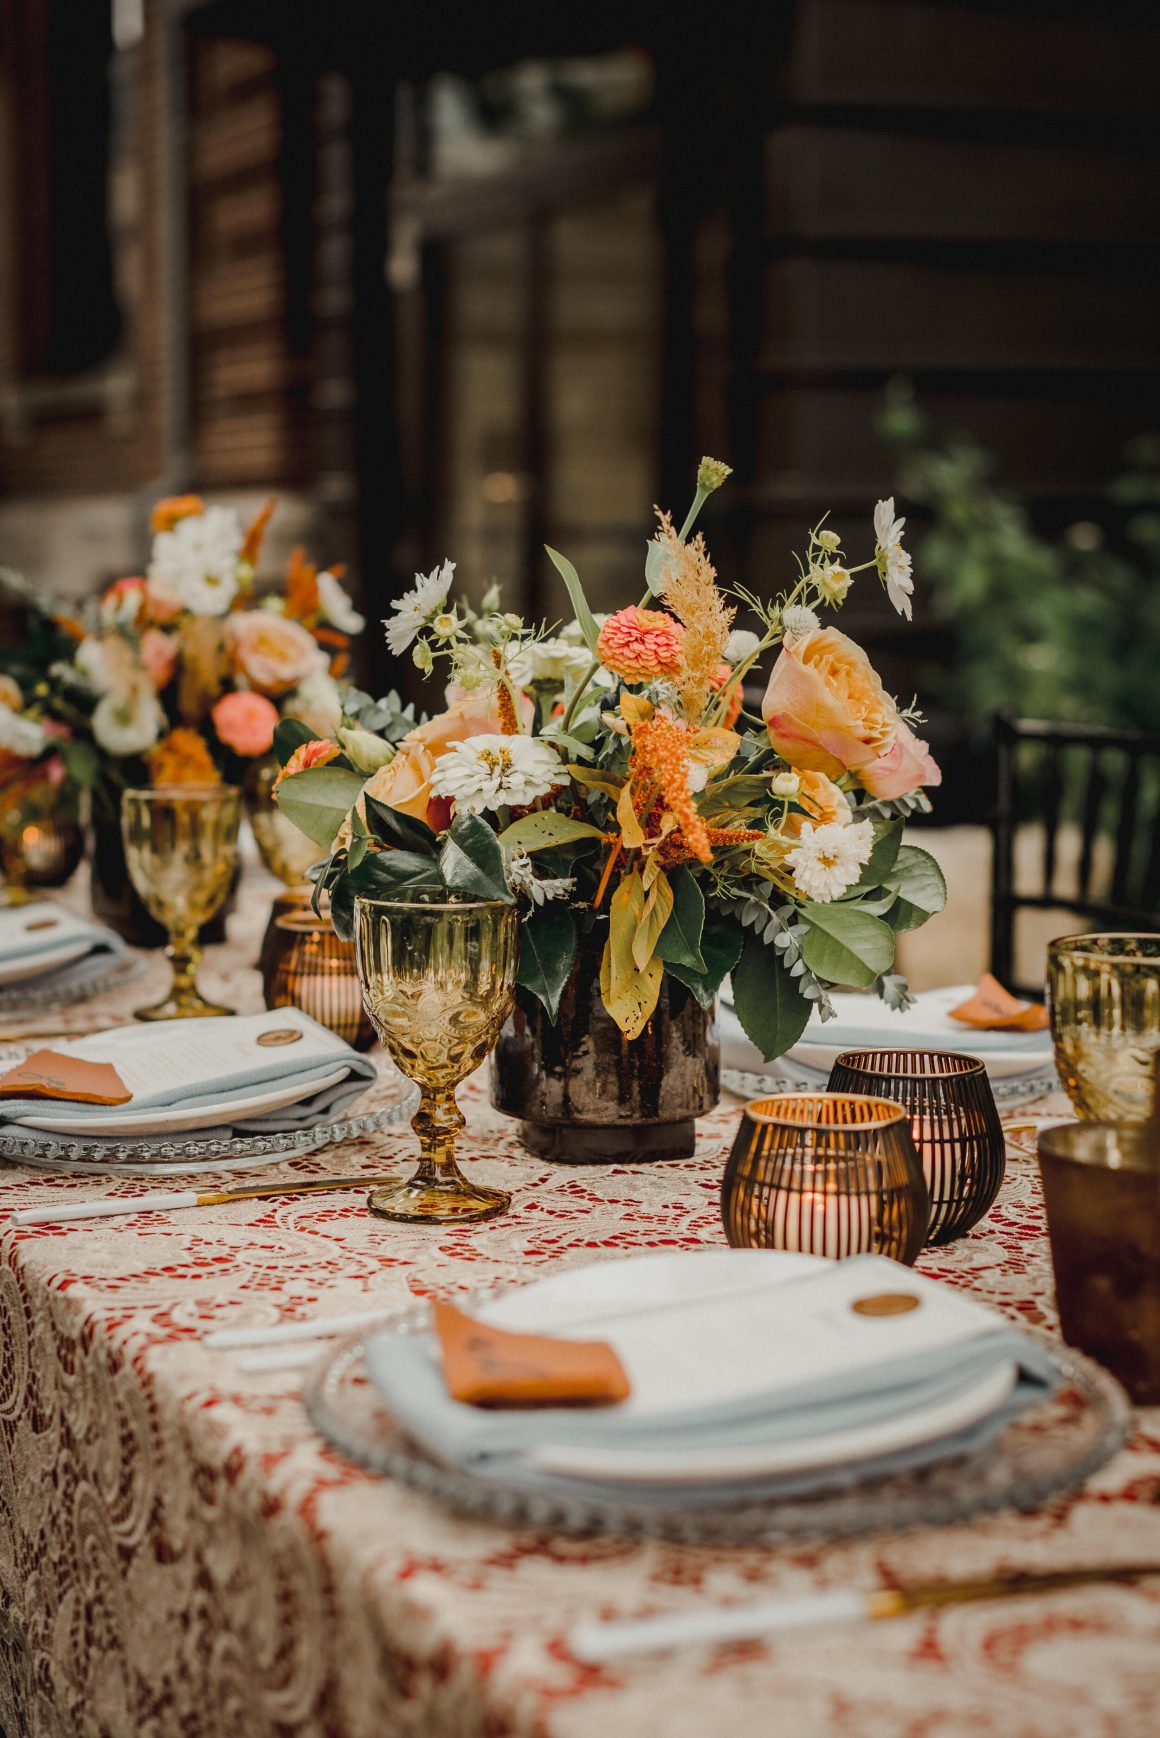
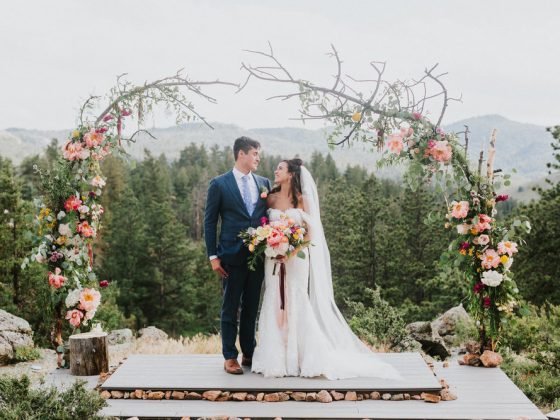
Elbow Falls Wedding Inspiration with Rich Autumn Hues
Stunning Parisian Wedding Inspiration in Winnipeg
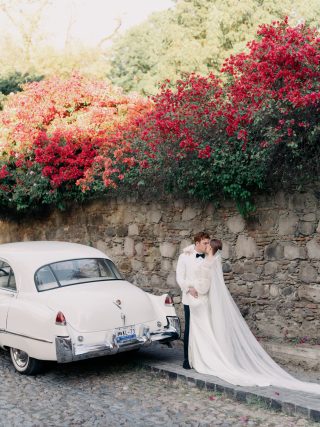
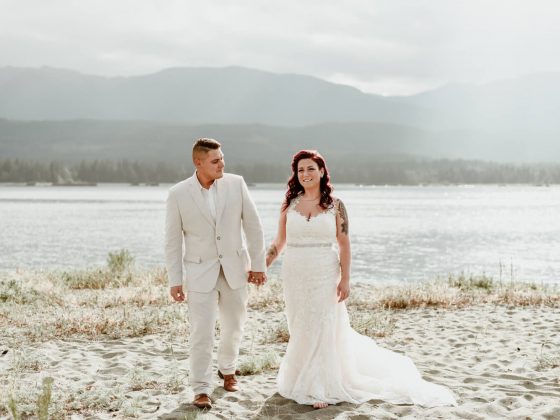
Stunning Sunset Wedding Inspiration with a Vintage Car
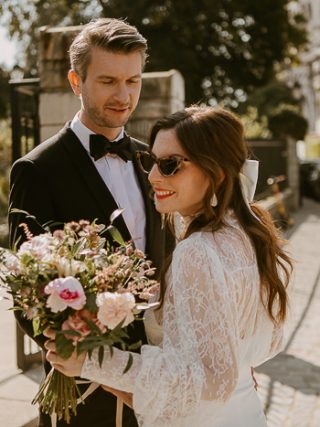
Bohemian Gypsy Wedding Inspiration in Winnipeg
I am so excited to share today’s feature with you all! This bohemian gypsy shoot is full of amazing creative ideas. All the details that Luxe Images by Jill put together are absolutely…
Share
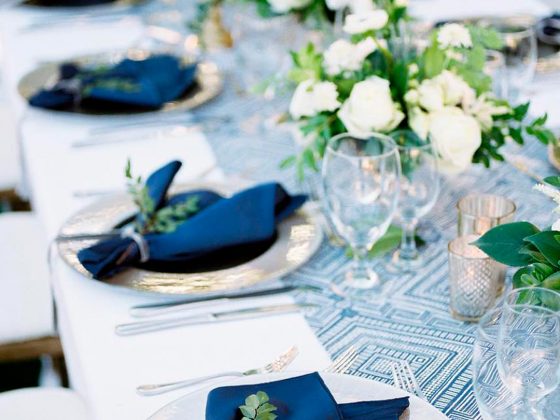
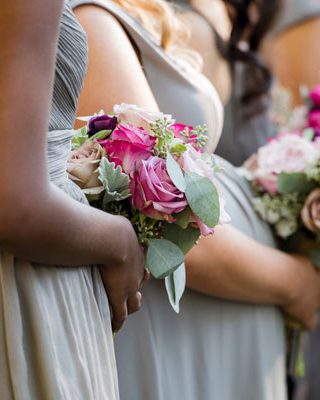
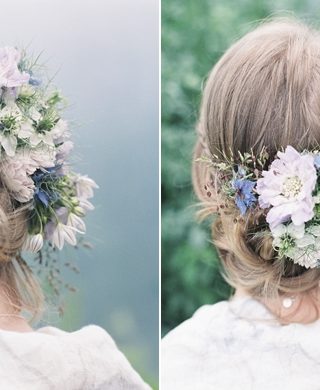
Rustic Glam Watercolour Styled Shoot in Shades of Blues and Greens
I am usually one to choose a more neutral colour palette but today’s watercolour inspired wedding shoot has me feeling a different way. I can not get enough of all the watery blue tones and…
Share
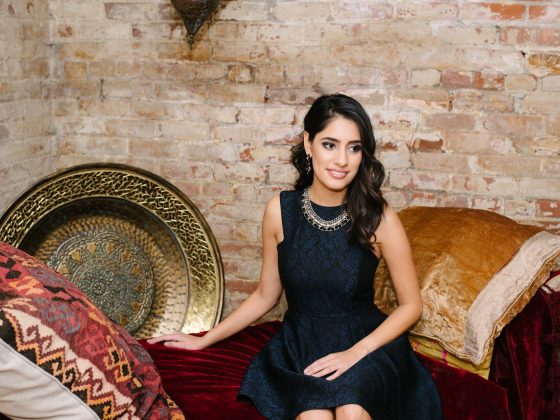
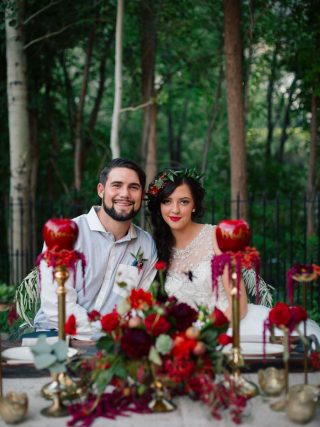
Moody and Mysterious Moroccan Styled Editorial
Let us spice up this week a little bit with this moody and mysterious Moroccan styled editorial. Let me tell how beautiful the colours of this shoot are today, plums, reds, pinks and navy. I…
Share
Wedding Tip #3 Remind Your Wedding Party To Smile
Happy Wednesday everyone! Today’s wedding tip #3 – Remind your wedding party to smile, may seem a little ridiculous but it is so important. One of the largest parts to a wedding budget is…
Share
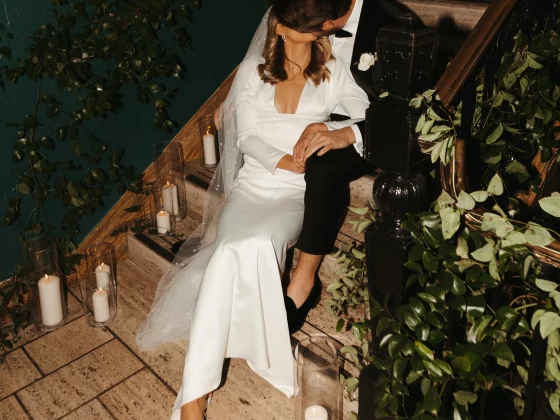
The Notebook Inspired Engagement Shoot
Who doesn’t love a good love story? I know I sure do and The Notebook is definitely a classic. I still gush every time I watch that movie, it never gets old. So, when Clint Bargen sent over…
Share
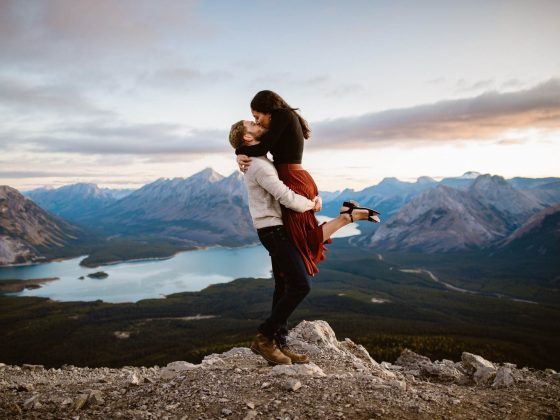
Sun-Kissed Canmore Mountain Engagement Session
A couple of things we look forward to seeing in an engagement session is a couples love and personality and this Canmore mountain session nails it. You can see how happy and in love Kristle…
Share
Organic Countryside Elopement in Nanaimo with Yellow Details
This shoot may have taken place on beautiful Vancouver Island but it is giving off some stunning countryside feels. Everything in this shoot is so natural and organic making it the perfect way…
Share
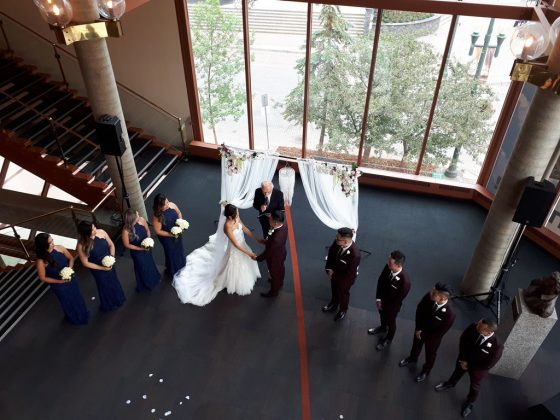
Edmonton Muslim Wedding with an Artistic Flair at the Citadel Theatre
I love seeing weddings of all types and I love sharing them even more. It is always so fun to see different family and religious traditions / celebrations. Today’s artistic wedding feature is…
Share
A Dreamy Bucket List Banff Engagement Session |Style Inspired Weddings
Today’s Banff engagement feature is so dreamy and perfect you have to see the whole gallery below from Madeleine Collins Photography. The light, scenery and gorgeous couple make this shoot…
Share
Natural Fall Engagement Session in the Edmonton River Valley
As sad as I am to see summer slowly leave, I am super excited to see all the stunning fall colours. After seeing today’s feature from Shandro Photo you will be dying to see all those pretty…
Share
A Fun Summer Blush Wedding in Medicine Hat
I love when I get to feature fun couples with super fun weddings and today’s Medicine Hat wedding is most definitely a fun one. Cristal King Photography was the lucky photographer that got to…
Share

About US

Style Inspired Weddings is every brides ultimate online wedding planning resource in western Canada. Our goal is to include everything from real weddings in British Columbia, Alberta, Saskatchewan and Manitoba to amazing local vendors and wedding professionals. We want Style Inspired Weddings to be a go to resource for couples planning their dream wedding. We love great photography, unique details, gorgeous wedding fashions and beautiful florals. Sharing incredible weddings from all across western Canada is our mission.
Mia – CEO
Helen – Chief editor
Viktoria – editor (author at Cyber-sport.io)


